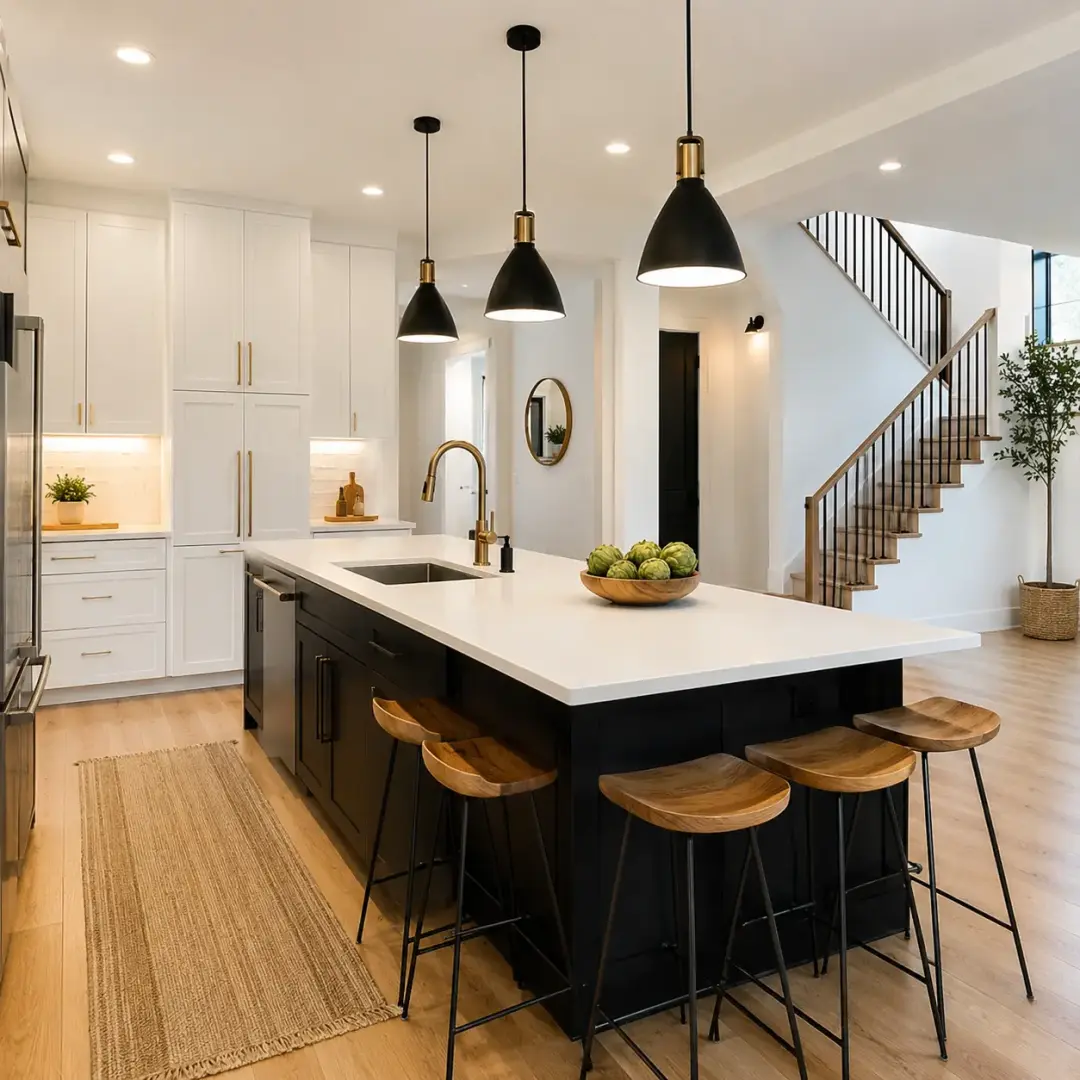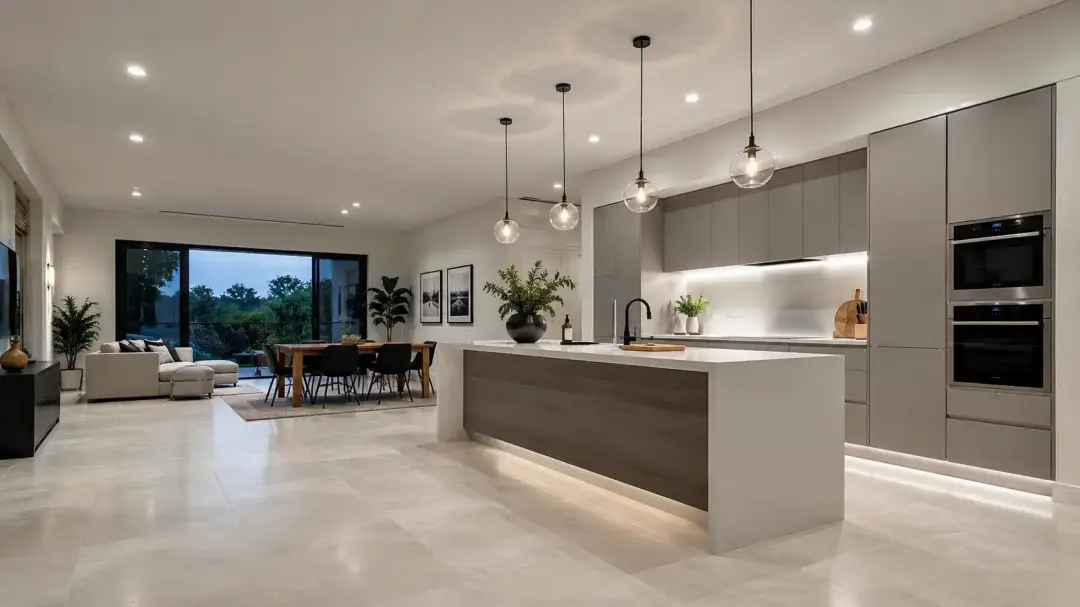
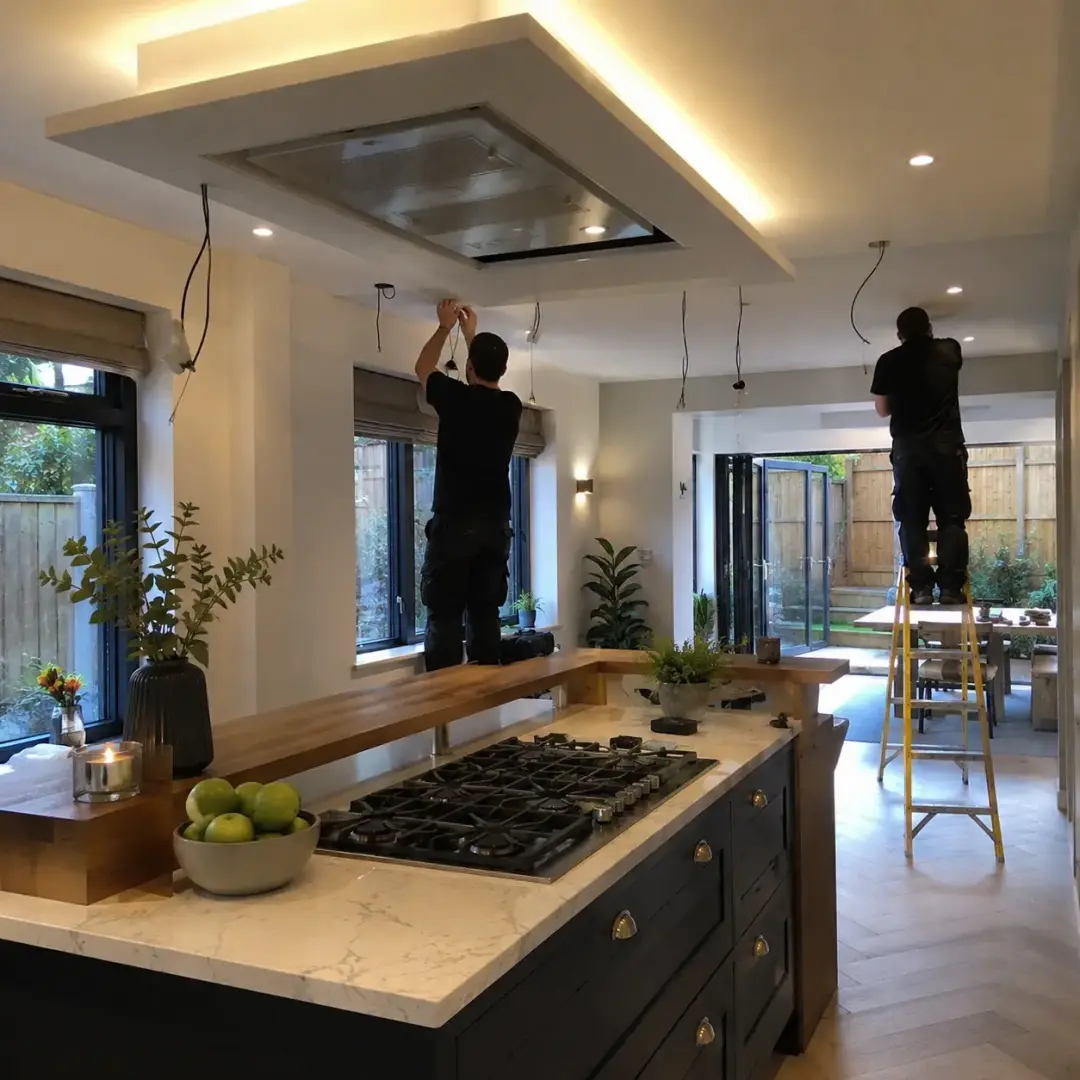
Plan renovation lighting before walls and ceilings are finished. Start with furniture and everyday tasks, then decide where general, task and accent lighting should go and how each group will be controlled. A coordinated plan gives the electrician the positions, fittings and switching information needed before first fix, when changes are usually easier to accommodate.
Lighting installations in Tonbridge: write the brief
List what each renovated space needs to do, including activities that happen at different times. A kitchen may host food preparation, homework and an evening meal; a spare bedroom may also be a working office. Note the users’ visual needs and preferences rather than assuming every household wants the same level or colour of light.
Mark the fixed furniture on a scaled drawing. Include beds, desks, kitchen units, tall cupboards, artwork and televisions. This immediately exposes positions where a ceiling fitting could cast shadows or where a wall light would conflict with a wardrobe. Share this drawing with your domestic electrician and designer so the electrical arrangement follows the room you intend to use.
Combine layers around actual activities
General lighting helps you move through the room; task lighting supports work such as reading or preparing food; accent lighting draws attention to a feature. Decide which layers are useful before choosing products. Not every room needs every type, and more fittings do not automatically produce a more comfortable result.
For a kitchen, a practical sequence is to consider worktop lighting first, then general circulation and finally decorative pieces. For a lounge, check reading positions and television reflections before adding a ceiling grid. Lighting a surface can make the room feel clearer without a bright source facing the user. Ask to review the effect from seated positions as well as from the doorway, where a showroom-style arrangement may initially look appealing.
Match efficiency to the light you need
Energy Saving Trust’s lighting guidance, updated on 6 October 2026, states that LED bulbs use about 80% less electricity than halogen bulbs for comparable light. That is a technology comparison, not a guaranteed reduction in your whole electricity bill. Choosing efficient sources still matters when a renovation adds extra fittings. Read the current lighting guidance.
Compare lumen output as well as wattage and check whether the quoted output is for the lamp or the complete luminaire. Consider beam angle, glare and the room’s finishes. Dark surfaces absorb more light than pale ones, and a narrow beam behaves differently from a diffuse shade. Ask for a sample fitting where appearance is critical so colour and comfort can be judged in the actual room.
Practical next steps
- Fix furniture positions before choosing electrical points.
- Separate lighting groups by how the room is used.
- Confirm compatibility and access before closing ceilings.
Decide controls before the cables are installed
Group lights by function so you do not need every fitting on for every activity. A dining pendant, worktop strip and general ceiling light can have separate controls even within one room. Think through entering, leaving, cooking and relaxing, then position switches where a person naturally reaches for them.
If you want dimming, confirm the compatibility of the LED source, driver and dimmer as a combination. Dimmable on one component’s packaging is not proof that every possible control will work well. Decide whether you prefer simple switching, preset scenes or a connected system, and explain who will use it. A visitor or family member should be able to operate the essential lighting without learning an app before finding the stairs.
Coordinate first fix with the wider renovation
Give the electrician the chosen product details before first fix, including driver locations and any unusually deep or heavy fittings. Confirm pendant positions against the final island or table setting, not just the room’s geometrical centre. Once cabinets or ceilings are closed, late changes may require extra access work and redecoration.
Recessed lights need coordination with the ceiling structure and any fire, acoustic, insulation or moisture requirements. Specify fittings and installation details that suit the actual construction rather than assuming a product label settles every issue. If existing circuits need substantial changes, discuss rewiring work as part of the programme. Keep a marked drawing of the agreed positions so all trades work from the same version.
Commission the lighting after dark
Allow a final review when daylight is no longer masking the result. Check each switching group, test the useful dimming range and look for glare from seating, cooking and desk positions. Confirm that lights do not produce unwanted reflections in the television or mirror. Report flicker, buzzing or unstable dimming rather than accepting them as inevitable features of LED lighting.
Keep the fitting and driver details, instructions and relevant certificates with your renovation records. Ask how drivers or integrated components can be reached and replaced later. Where a setting can be adjusted, agree it with the installer and record the choice. A successful lighting plan should leave the household with a comfortable room and understandable controls, as well as an attractive set of fittings.
Include a clear list of switching groups in the handover so future occupants understand which controls operate the ceiling, task and decorative fittings.
Summary
Renovation lighting works best when the room layout, light sources and controls are planned together before first fix. Review the result in real evening conditions and keep the product information for future maintenance. Speak to Tonbridge Electrical Testing about turning your renovation drawings into a practical lighting installation.